View rules
To manage rules within the Dashboard:
- Log in to your Zonos Dashboard account.
- Navigate to Settings -> Rules.
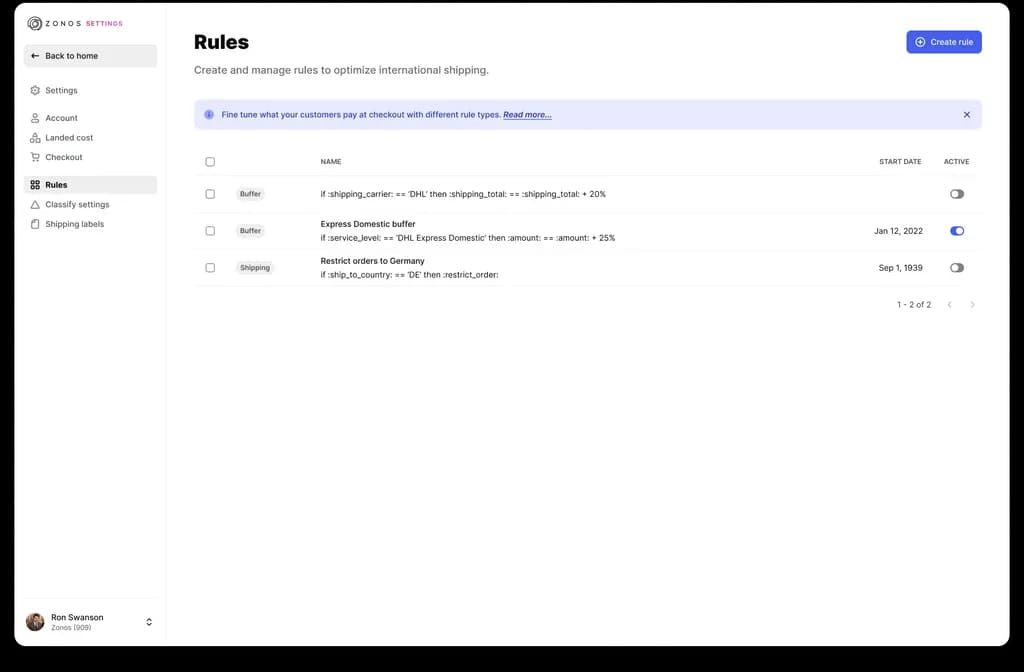
On the “Rules” page, you can view all rules associated with your Zonos account, filter rules, and quickly enable or disable rules.

Create rules
To create a new rule within the Dashboard:
- Log in to your Zonos Dashboard account.
- Navigate to Settings -> rules.
- Click Create rule.
- Add a name to your rule so you can identify it later. These are only visible to team members in your organization.
- Follow the steps in the “Specify rule condition” section below to add a condition to your rule.
- Follow the steps in the “Specify rule action” section below to add an action to your rule.
- Optionally, you may add a comment for additional context. These are only visible to team members in your organization.
- Follow the steps below to add a specific start and/or end date for your rule (optional).
- Either set your rule to Enabled or Disabled.
- Click Save.
Specify start and end dates
Rules can optionally have a start date, an end date, or both. Start and end dates control when and how your rule becomes active and can be used to create rules that are only active for specific periods, such as seasonal discounts or other time-sensitive situations.
Rule behavior
| Dates↕ | Behavior↕ |
|---|---|
| Start and end date | Rule will be active between the specified start and end date. |
| Only a start date, no end date | Rule will become active after the specified start date and must be manually disabled. |
| No start or end date | Rule will always be active unless manually disabled. |
Specify rule condition
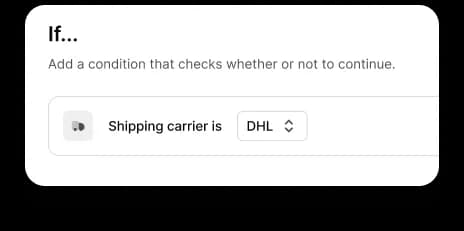
Every rule requires a condition to be specified to determine what it applies to and which variables are available at the time the rule runs. In other words, the condition determines if the rule should run at all and when. Different conditions have different options available.
For example, if you pick “Shipping carrier” as the condition, it allows you to additionally select which carrier is part of the condition, which you might use if you are setting up a buffer for only a specific carrier.
Rules only support one condition each, and do not support complex logic such as “else if”, “and/or”, or similar terms. If you want to chain rules, it is best to think of how you might achieve the same logic with multiple rules compared to one giant, complex rule.

Specify rule action
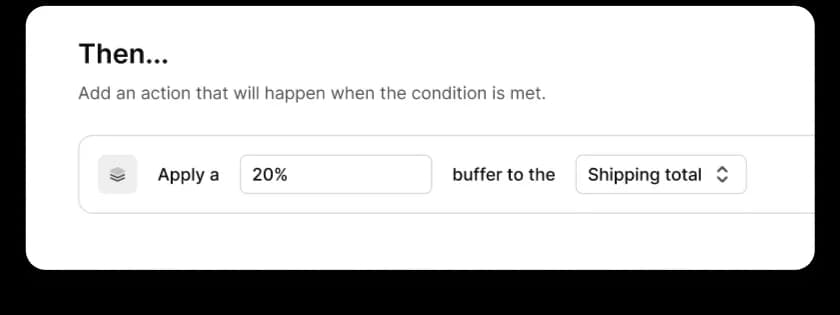
A rule’s action is what happens once its condition is met. Just like conditions, there are a variety of actions possible, each with different options.
For example, if you wanted to add a buffer to only a specific shipping carrier, you would set the action to “apply a buffer” and enter the amount of your buffer and what it applies to. You can then control which carrier exactly the buffer applies to by specifying that in the rule’s condition.
Just like conditions, rules only support one action each. If you want multiple actions, it is best to think of how you might achieve the same logic with multiple rules compared to one giant, complex rule.

Update rules
Updating rules in place is not possible with how our system works. This is because we need to keep a traceable history of which rules were applied in which situations and what the rule did when it ran. Alternatively, you can archive and recreate a rule, passing in the changed values, effectively achieving an “update” to the rule.
This example mutation shows how you might combine the ruleArchive and ruleCreate mutations to achieve this behavior:
mutation ruleUpdate($ruleId: ID!$action: String!$condition: String!$context: String!$description: String!$name: String!) { ruleArchive(id: $ruleId) ruleCreate( input: { action: $action condition: $condition context: $context name: $name description: $description } ) { id action context condition }}Archive rules
Once added, rules can be easily enabled or disabled to determine if they should affect your calculations. Manually enabling or disabling a rule will override any start and end date-based logic contained within the rule.
Rules can be enabled or disabled on a one-by-one basis from the “Edit a rule” screen, or in bulk by using the checkboxes next to each rule on the “All rules” screen.
List all possible rule contexts
We offer some global queries for dealing with rules which are useful for discovering how rules work under the hood, creating UIs on top of rules, etc. These apply to all users, are not organization-specific, and are offered for convenience. This query returns a list of all possible contexts to which rules can belong. A rule context determines when a rule runs and what variables are available.
query { ruleContexts { name context variables { ruleTokenType value } }}
Advanced rules
COMING SOON
Zonos supports advanced customization of how calculations happen in your account through the use of rules. Rules can be used to add buffers to different parts of the calculation, customize fees, and more. For a full breakdown of how Zonos handles rules, including a list of all possible rule types, see our rules breakdown doc. Rules can be managed via Zonos Dashboard or through the GraphQL API.